
Why Duct Panels Are Beaded
Published · Updated
A formed rib changes the stiffness of a panel. The buying question is whether the machine can place the specified bead across your actual blank without interfering with folds or connections.
Change the panel section before final folding
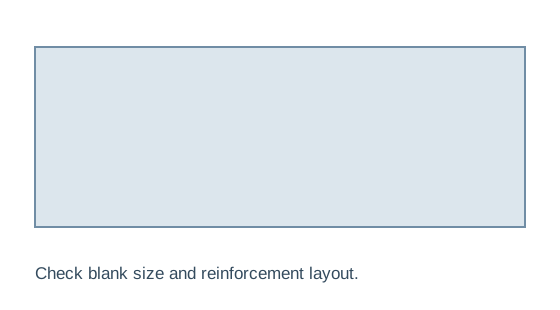
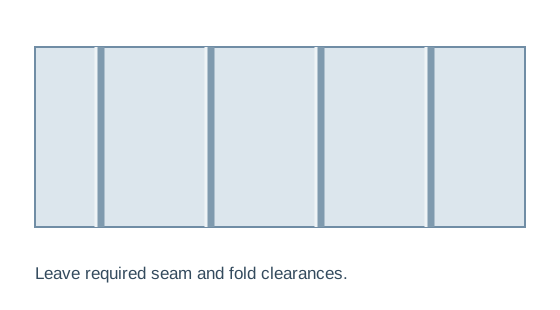
A formed bead gives a flat panel a shaped section that helps resist flexing. It is useful on broad duct panels and selected fittings, but the approved construction still defines reinforcement, thickness and material.
Beading is not a substitute for every reinforcement requirement or proof of pressure performance. Confirm bead depth, spacing and clearances from fold lines, flange areas and seam assembly. Follow the drawing rather than copying a pattern from a machine demonstration.
Can the roller reach the bead position?
Throat access: TB-12
200 mm throat
The TB-12 manual roller lists 1.2 mm / 18Ga maximum and no motor. Throat depth describes access to the forming position. A wide blank can still place a required central bead beyond that reach.
Review TB-12 details using the actual reinforcement sketch.
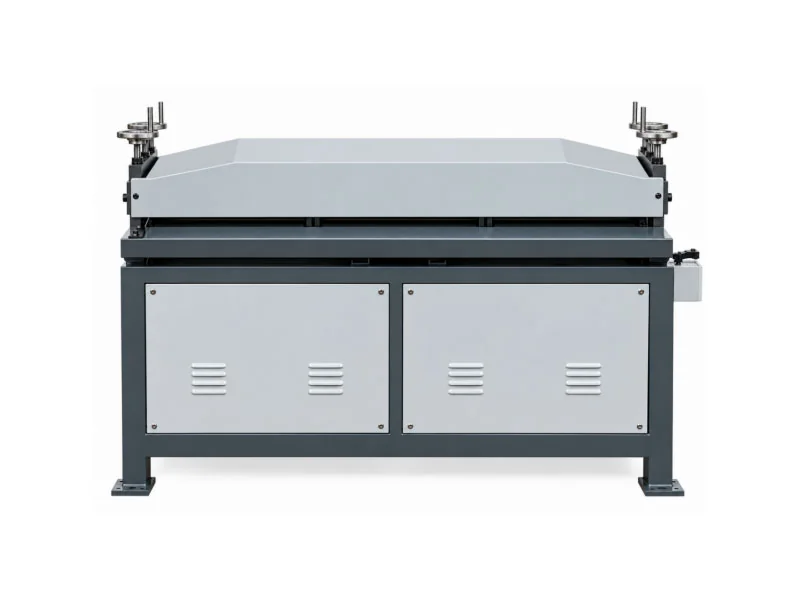
Full-panel width: G-series
1300 / 2000 mm maximum width
G-1.5×1300 lists 0.4–1.5 mm and 1.5 kW. G-1.2×2000 lists 0.4–1.2 mm and 3 kW. These widths describe a different capacity limit from a manual roller throat.
Review the model table and grade-specific confirmation.
Keep the bead compatible with the next operation
- 01Approve pattern
Define bead shape, spacing and clear areas.
- 02Support panel
Check tracking across the actual blank.
- 03Form profiles
Keep seam and flange interfaces workable.
- 04Fold & assemble
Inspect the geometry after subsequent forming.
- 05Check construction
Complete the required reinforcement and inspection.
- Approve blank dimensions and reinforcement layout.
- Confirm whether the route beads before or after cutting.
- Feed and support the flat panel while maintaining the pattern.
- Prepare notches, locks and flanges with required clearances.
- Fold, assemble and inspect the completed panel.
Flat-panel beading normally precedes final folding in the rectangular process. For a configured duct line, verify the actual sequence and integrated pattern.
Three sample checks that a narrow scrap misses
Full-width tracking
A neat rib on a short strip does not show how a broad blank feeds. Trial the widest intended panel with its real support arrangement.
Tooling and surface condition
Inspect bead shape, coating marks and material condition. Confirm the rollers included for the requested profile and how they are changed.
Completed panel fit
Fold and assemble the processed panel. Check that bead placement leaves the specified mating edges and connection areas usable.
Separate flexible fitting work from panel batches
A shop making small repair pieces may need local access and frequent profile changes. A workshop producing broad repeat panels may benefit from powered panel beading or a confirmed integrated line. Compare the actual work and handling, not only manual versus powered operation.
| Model | Published limit | Access question |
|---|---|---|
| TB-12 | 1.2 mm / 18Ga; no motor | 200 mm throat reaches bead? |
| G-1.5×1300 | 0.4–1.5 mm; 1300 mm width; 1.5 kW | Full blank fits? |
| G-1.2×2000 | 0.4–1.2 mm; 2000 mm width; 3 kW | Thickness range sufficient? |
Scroll the comparison table horizontally to see every column.
An integrated line must reproduce the required reinforcement pattern. Ask how bead placement relates to blank cutting and notching in the complete duct sequence.
Show the blank and the required bead
WinYing Machinery can review panel dimensions and the downstream process before discussing tooling. Supply the reinforcement sketch so model width, access and assembly fit can be checked together.
Discuss this application →- 01Blank size and grade / thickness
- 02Bead shape, spacing and position
- 03Fold, seam and flange clearances
- 04Batch mix and existing duct equipment
Frequently Asked Questions
Does beading permit thinner sheet?
Only an approved construction design can establish sheet thickness. Beading alone does not authorize a change.
Is throat depth working width?
No. Throat depth describes profile access; panel width describes the sheet the machine can process.
When should a flat panel be beaded?
Normally before final folding, with the actual sequence confirmed for the selected route.
Are all bead shapes included?
Confirm the supplied rollers against the required drawing. The machine name alone does not establish every profile.